Ultrasonic cleaner removes fingerprints from optical lenses and cameras
Browse Volume:656 Classify:Support
Ultrasonic cleaners have the following advantages when removing fingerprints on optical lenses and cameras:
Thoroughly clean: The ultrasonic cleaner generates small bubbles through high-frequency sound wave vibration, which rapidly expand and collapse in the liquid, generating intense liquid flow and impact force. This physical effect can thoroughly clean the surface of optical lenses, removing fingerprints and stains from small gaps and depressions, making the cleaning effect more thorough.
Non contact Sexual cleansing: the cleaning process of the ultrasonic cleaners have many advantages is non-contact, and the optical lens does not need to directly contact any object or brush, avoiding the potential risk of scratches and damage. This is particularly important for lenses with high sensitivity to the surface of optical lenses.
Time and efficiency: Ultrasonic cleaners can complete the cleaning process in a short amount of time, usually in just a few minutes. Compared to traditional manual cleaning methods, ultrasonic cleaners can improve cleaning efficiency, save time and labor costs.
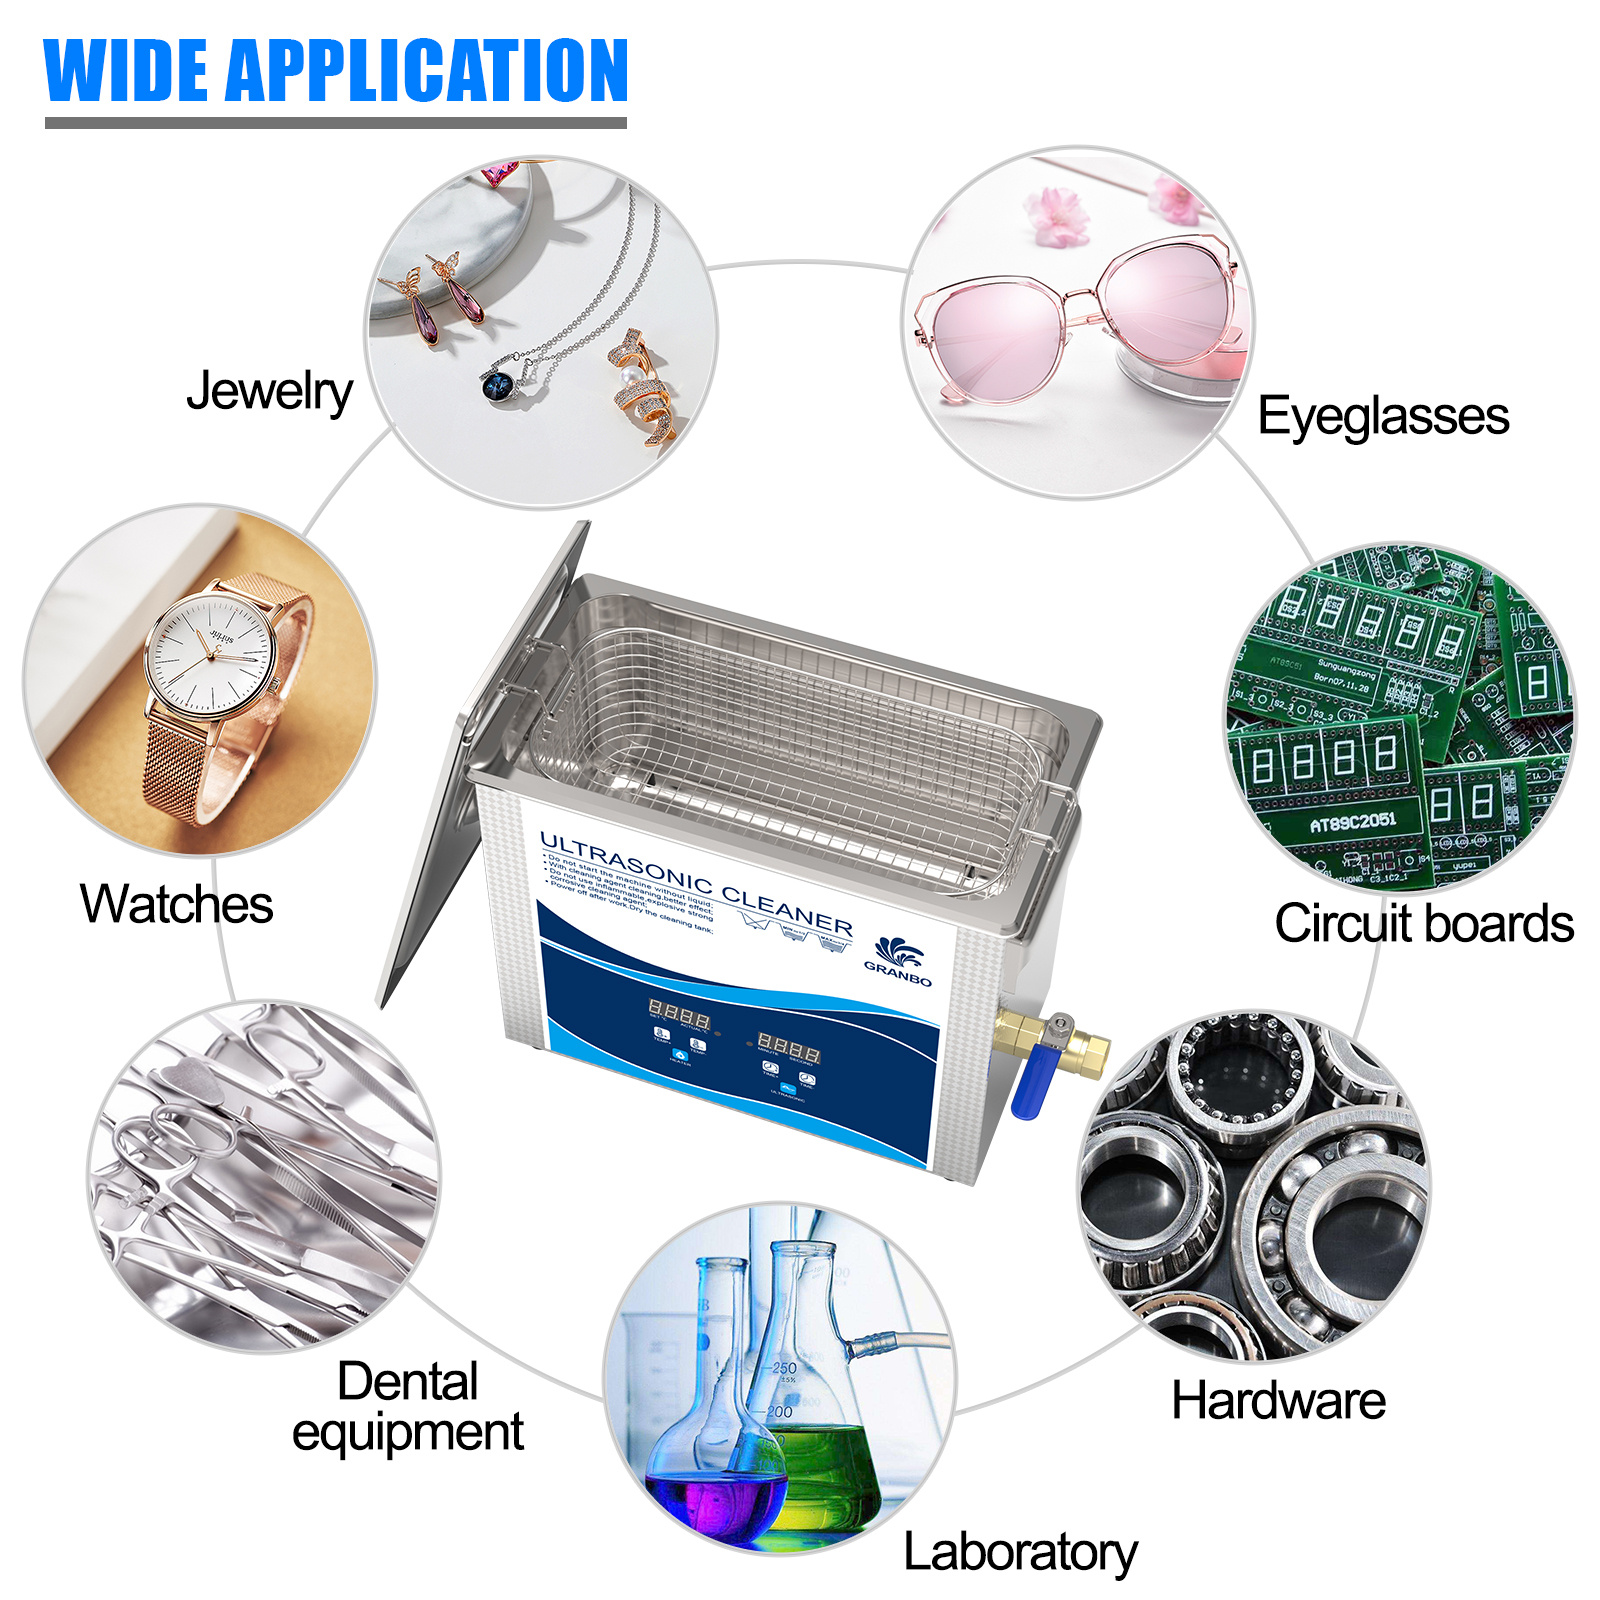
Versatility: Ultrasonic cleaners can not only clean optical lenses and cameras, but are also suitable for cleaning other small items such as jewelry, watches, coins, needles, glasses, etc. This makes the ultrasonic cleaner a multifunctional cleaning tool.
It should be noted that although ultrasonic cleaners have many advantages, they may not be suitable for certain special optical lenses or cameras. Before cleaning, it is best to carefully read the instructions for using optical lenses or cameras and consult with professionals or manufacturers for advice to ensure the applicability and safety of the cleaning method.
Ultrasonic cleaners can effectively clean fingerprints and stains on the optical lenses of the camera. Here are some steps and precautions:
Prepare an ultrasonic cleaner: Ensure that the cleaner is clean and set the cleaning time and temperature correctly according to the user manual (if applicable).
Prepare cleaning solution: Add appropriate cleaning solution according to the requirements of the ultrasonic cleaner. You can use cleaning solutions or diluted cleaning agents specifically designed for optical lenses.
Remove the optical lens (if possible): If possible, remove the optical lens from the camera. This allows for a more thorough cleaning of the lens surface.

Place the camera optical lens into the cleaning tank of the ultrasonic cleaner, ensuring that the lens is completely immersed in the cleaning solution.
Start the washer: Follow the instructions for the washer, start the ultrasonic washer, and set an appropriate cleaning time (usually a few minutes).
Cleaning process: The ultrasonic cleaner generates high-frequency sound waves to vibrate, detonating small bubbles in the cleaning solution and generating impact force, effectively removing fingerprints and stains on the surface of the lens.
Rinsing and drying: After cleaning, remove the optical lens and rinse it thoroughly with clean water to remove any residual cleaning agent. Then gently wipe the surface of the lens with a dry and soft fiber cloth to ensure complete dryness.
Install optical lenses: Reinstall clean optical lenses into the camera or camera.
It should be noted that:
Ensure that the optical lenses can be cleaned in an ultrasonic cleaner. Some lenses may have special coatings or structures that are not suitable for ultrasonic cleaning. For more information, please consult us at Granbo
 GranboSonic










Hello!